Weaver's
log, Earthdate 30032019-03042019
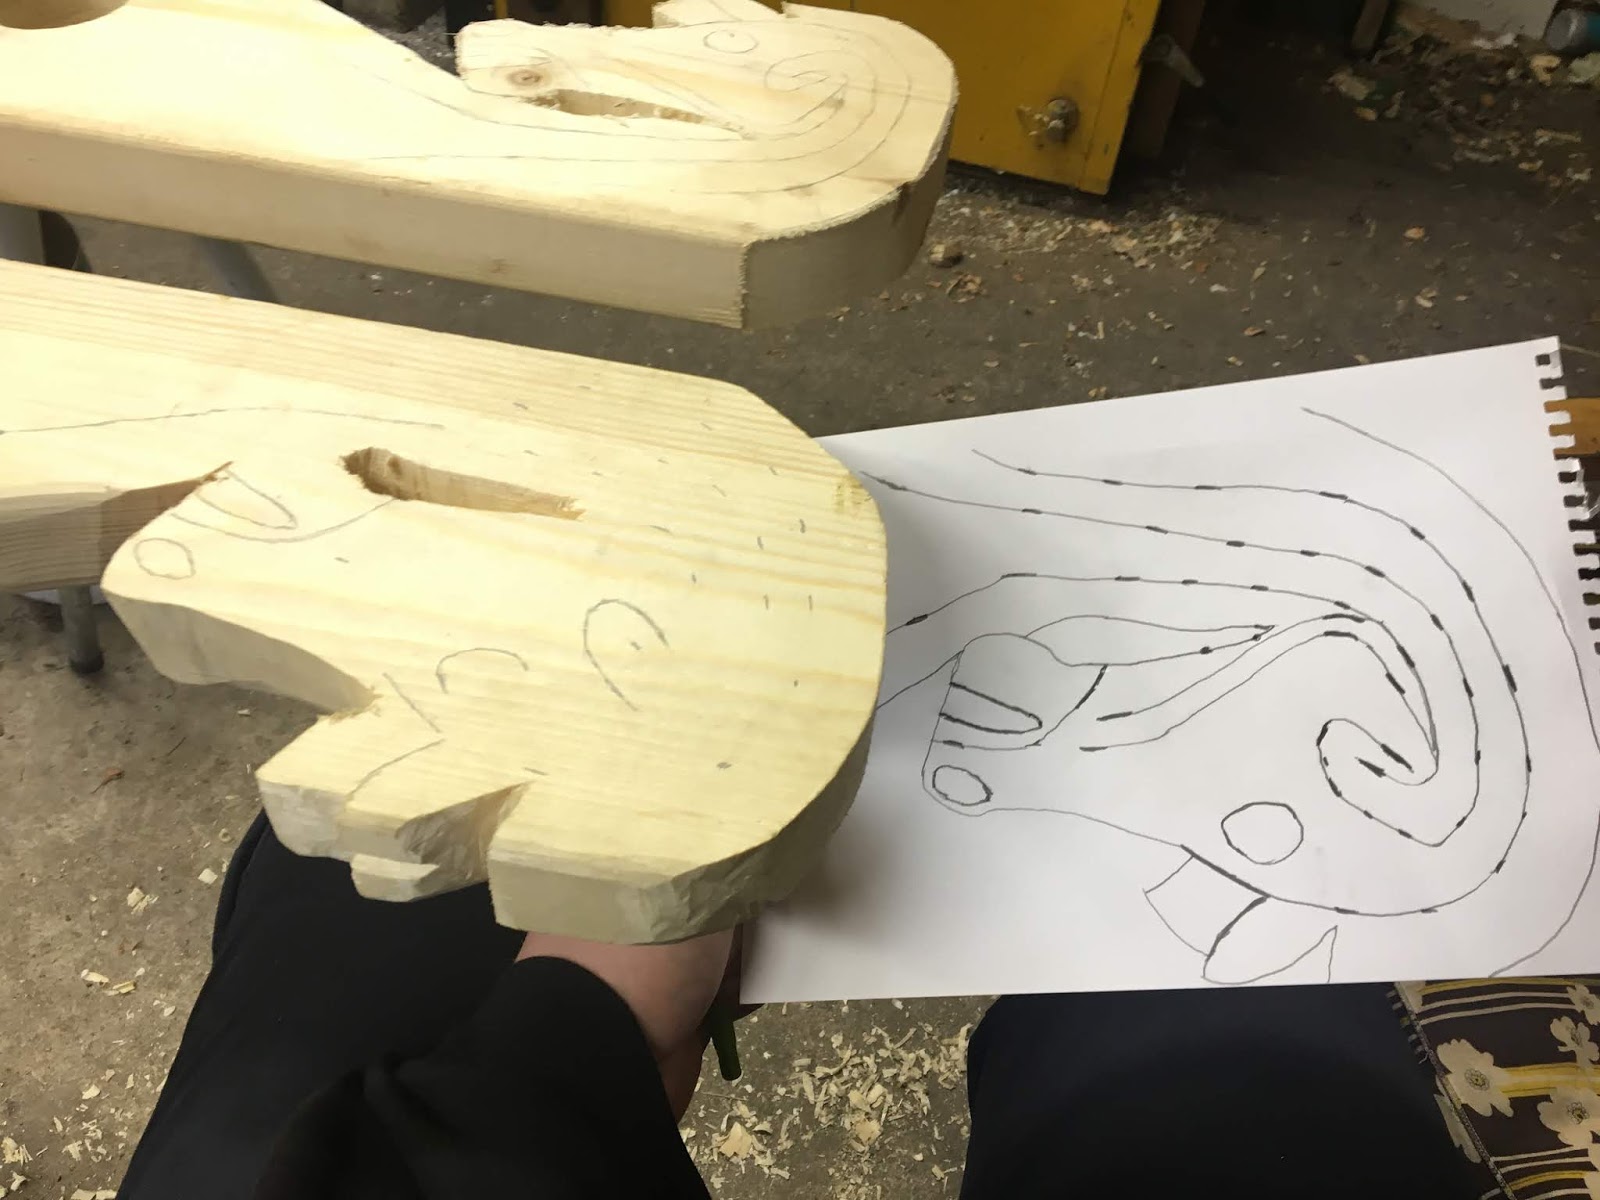
For some days I have worked on shaping the horse heads and giving them some details. One thing I hade to workaround was to get the image on the opposite side from the one I drew it on. The thing I did was first move it to the other side of the paper to get it mirrored by putting it up against a window and drawing it after the lines that shined through. Then I put it against the wood and pushed a pen against the lines here and there and then marked the indents that gave in the wood, and finally connect the dots kind of thing.
For some days I have worked on shaping the horse heads and giving them some details. One thing I hade to workaround was to get the image on the opposite side from the one I drew it on. The thing I did was first move it to the other side of the paper to get it mirrored by putting it up against a window and drawing it after the lines that shined through. Then I put it against the wood and pushed a pen against the lines here and there and then marked the indents that gave in the wood, and finally connect the dots kind of thing.
To cut the bangs on the head I started with
pushing a chisel straight down to cut off the fibres of the wood so
then I push it horizontally I don't risk to split the wood any longer
than the line I want. One more thing that is good to do than taking
out wood then carving figures is to after the straight down move, cut
down to the depth that the chisel got down to. Like I did on the
mouth. This shows you how deep you can go and then removing the hill
that is left you have very little risk of taking out a big chunk that
you don't want to.


The legs I rested the wood on was so light that I
moved it then I worked with the chisel so I put two buckets with
bolts and nuts on top.


No comments:
Post a Comment